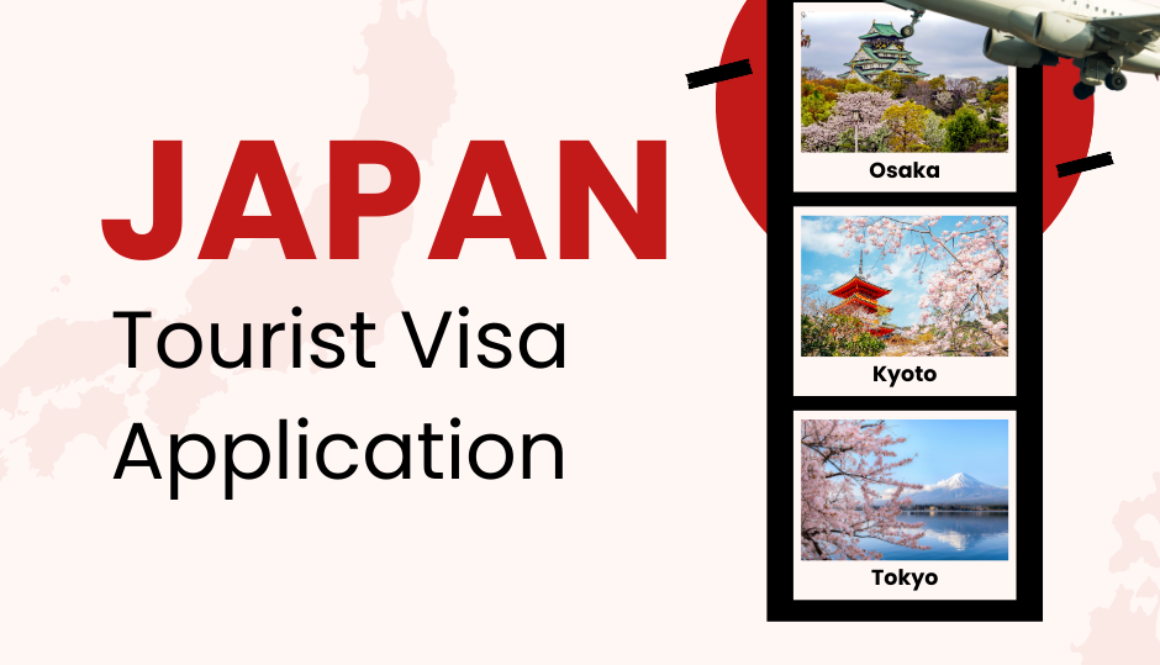
How To Apply for a Japan Tourist Visa
Applying for a Japan tourist visa might seem overwhelming at first, but trust me, it’s totally doable! Let me share our experience to hopefully make your application process smoother.
Me and Ivan decided to apply for a single-entry tourist visa, and on November 10, 2024, we went to Reli Tours at Mall of Asia to submit our application. The process was straightforward, and the staff was really helpful. They checked our documents, asked a few clarifying questions, and told us to wait for a text message about the status of our application. It felt like a waiting game, but to our relief, we got the notification on November 14, just four days later, saying our passports were ready for pick-up. We finally collected them on November 17, and—drumroll please—we were approved! It was such a thrilling moment to see that visa stamped on our passports.
When it comes to the documents, we made sure to prepare everything they might need. Here’s the list of what we submitted:
- Passport (valid with at least two blank pages)
- Visa application form (neatly filled out)
- Japan visa photo (4.5 x 3.5 cm)
- Bank statement (showing six months of transactions, including balance and average daily balance (ADB))
- PSA-issued birth certificate (issued within one year of the application date)
- Income Tax Return (ITR), if available
- Certificate of Employment (COE)
- Detailed itinerary for our stay in Japan
- Cover letter explaining the purpose of the trip
The visa application fee was ₱900 per person, which we paid when we submitted our documents.
It’s important to note that all documents must be printed on A4-size paper, except for other supporting documents like the bank certificate. Make sure to check this detail as it’s a common requirement for Japan visa applications.
Since my birth certificate is late-registered, I had to submit additional documents, including my school Form 137 and an explanation letter because I couldn’t find my baptismal certificate. Honestly, I was a little nervous about that, but the explanation letter seemed to suffice. We also included our COE, which had an electronic signature, along with another explanation letter to clarify its authenticity.
For the ITR, I don’t have one, so I submitted yet another explanation letter stating why I couldn’t provide it. While it felt like we were submitting a lot of letters, it’s better to explain things upfront rather than leave any gaps in your application.
The process taught us that every detail counts. Double-checking documents and ensuring all requirements are met can save you a lot of hassle. Even if you’re missing something, like in my case with the baptismal certificate and ITR, submitting a well-written explanation letter can make a big difference. The key is to be honest and proactive in addressing any potential issues.
When we finally picked up our passports and saw the approved visas, it was such a relief. The entire process might have felt nerve-wracking at times, but it was worth it. Now, we’re all set to plan our adventure in Japan, and I couldn’t be more excited.
You may go to the Embassy of Japan in the Philippines‘s website for further information and to download a copy of the SE Japan Visa application form.
If you’re thinking of applying for a Japan tourist visa, don’t be intimidated by the process. Just gather your documents, stay organized, and trust the system. Reli Tours made it so much easier for us, and I’m sure they’ll do the same for you. Good luck, and I hope you’ll soon have your own approved visa story to share!

